Hello and happy Thursday! You guys have been asking and I’m happy to finally share how I stained, painted, and finished my son’s DIY cabin bed! I teamed up with the friendly folks at Rust-Oleum to bring you this finishing tutorial. Are you ready? Let’s do this!
*This post contains affiliate links. To read my full disclosure policy, please click here.
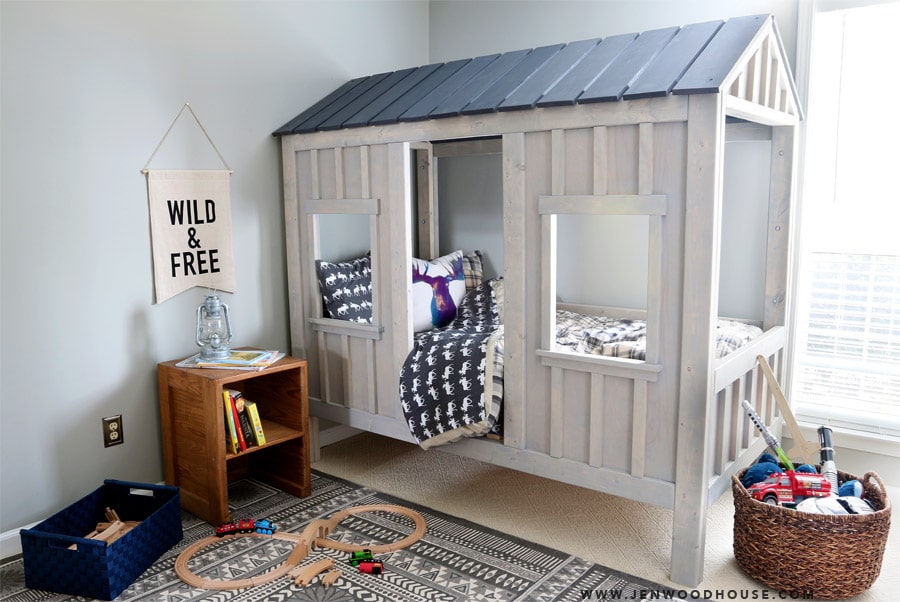
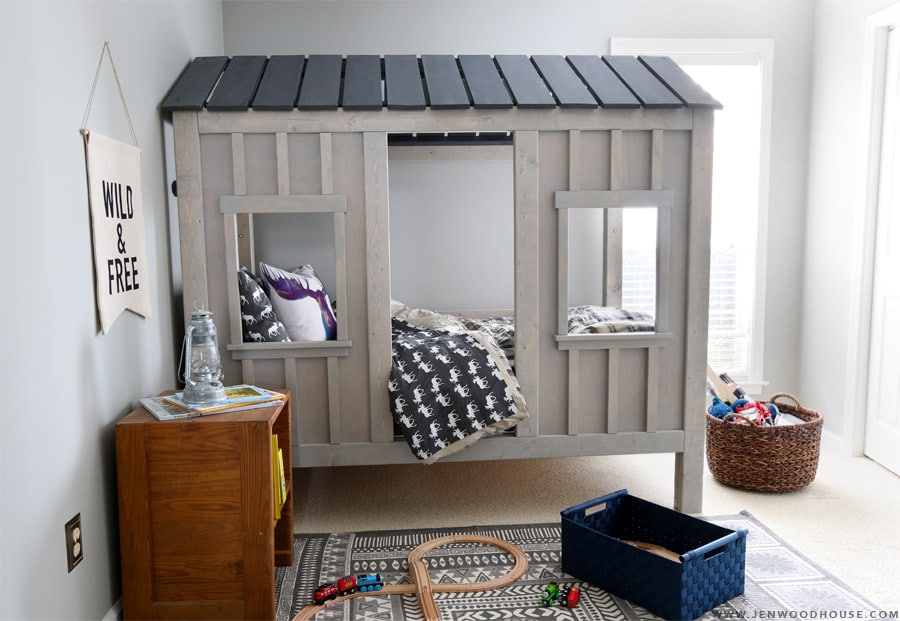
This is the little cabin bed that could! It’s been getting a lot of attention lately – it’s been featured on POPSugar and it even won Best Kids’ Project on BobVila.com (yes, THE Bob Vila!). I’m still pinching myself over it. We just love this little cabin bed. It makes bedtime pretty magical. If you’d like to learn how to build this DIY cabin bed, here is the step-by-step tutorial (complete with free building plans and a video).
Okay – so let’s get on with the finishing tutorial.
If you know me at all, you know I just can’t leave well enough alone. I can’t just buy a can of stain straight off the shelf. I have to play chemist and concoct a custom color. Of course. #highmaintenance
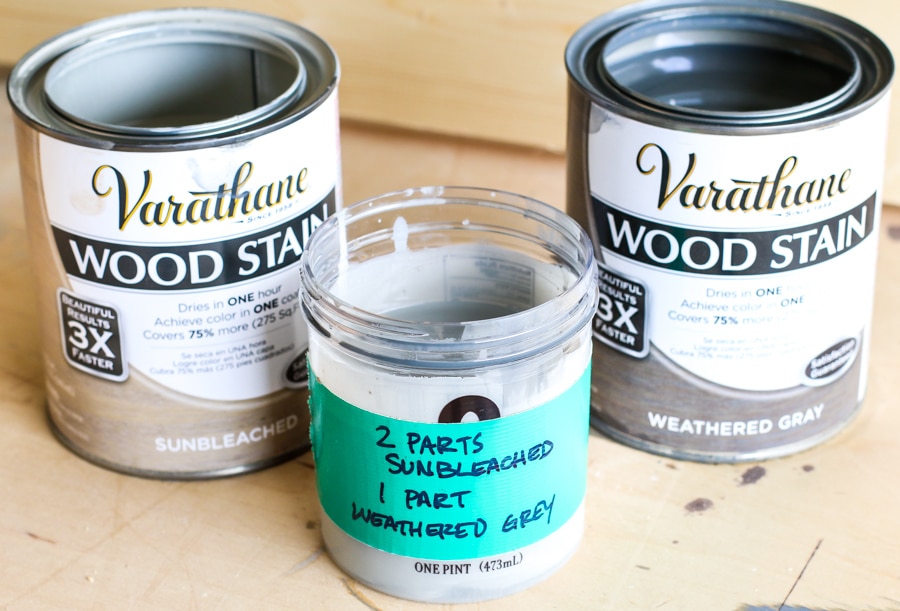
Two of my favorite stains are Varathane’s Sunbleached and Weathered Gray Wood Stain. For this project, Sunbleached was much too light and Weathered Gray was much too dark, so I mixed the two to get the best of both worlds.
I poured the Sunbleached stain into a plastic container (an empty gelato pint – don’t judge) then little by little, added Weathered Gray until I achieved the depth and darkness I wanted. I kept testing it out on scrap wood along the way – the formula ended up being about 2 parts Sunbleached to 1 part Weathered Gray.
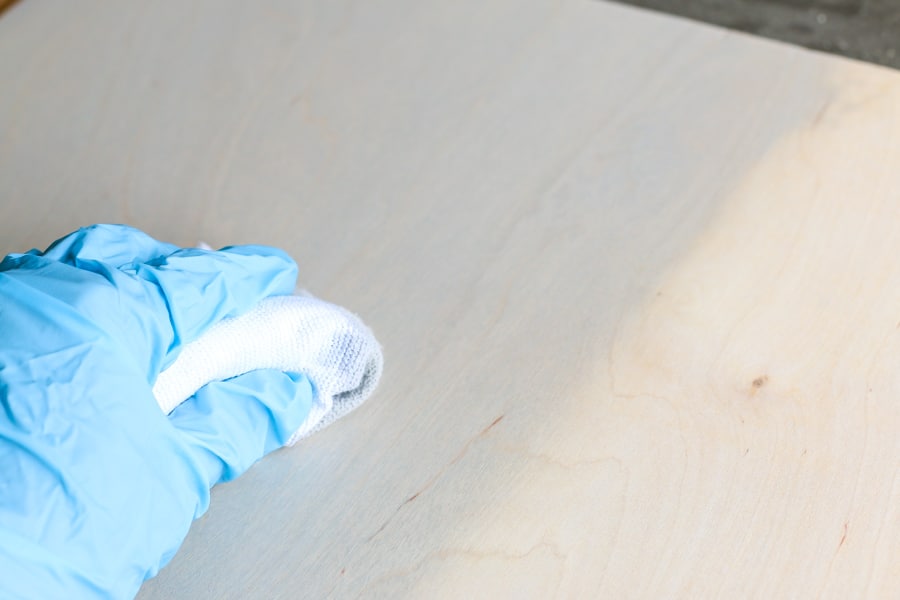
First, I sanded the entire bed with 150-grit sandpaper, then moved up to 220-grit. Then I used a wet/dry shop vac to remove all the dust and debris. Next, I dipped a clean, lint-free cloth into the custom stain mixture and rubbed it onto the wood, allowing the stain to penetrate the wood completely. Instead of letting the stain sit and soak for awhile, I prefer to rub it all in, so that all of the stain is absorbed into the wood. I don’t like surprises when it comes to staining, so I’d rather see what the color looks like right away and add more layers if I want to deepen the color. I applied two coats of my custom stain.
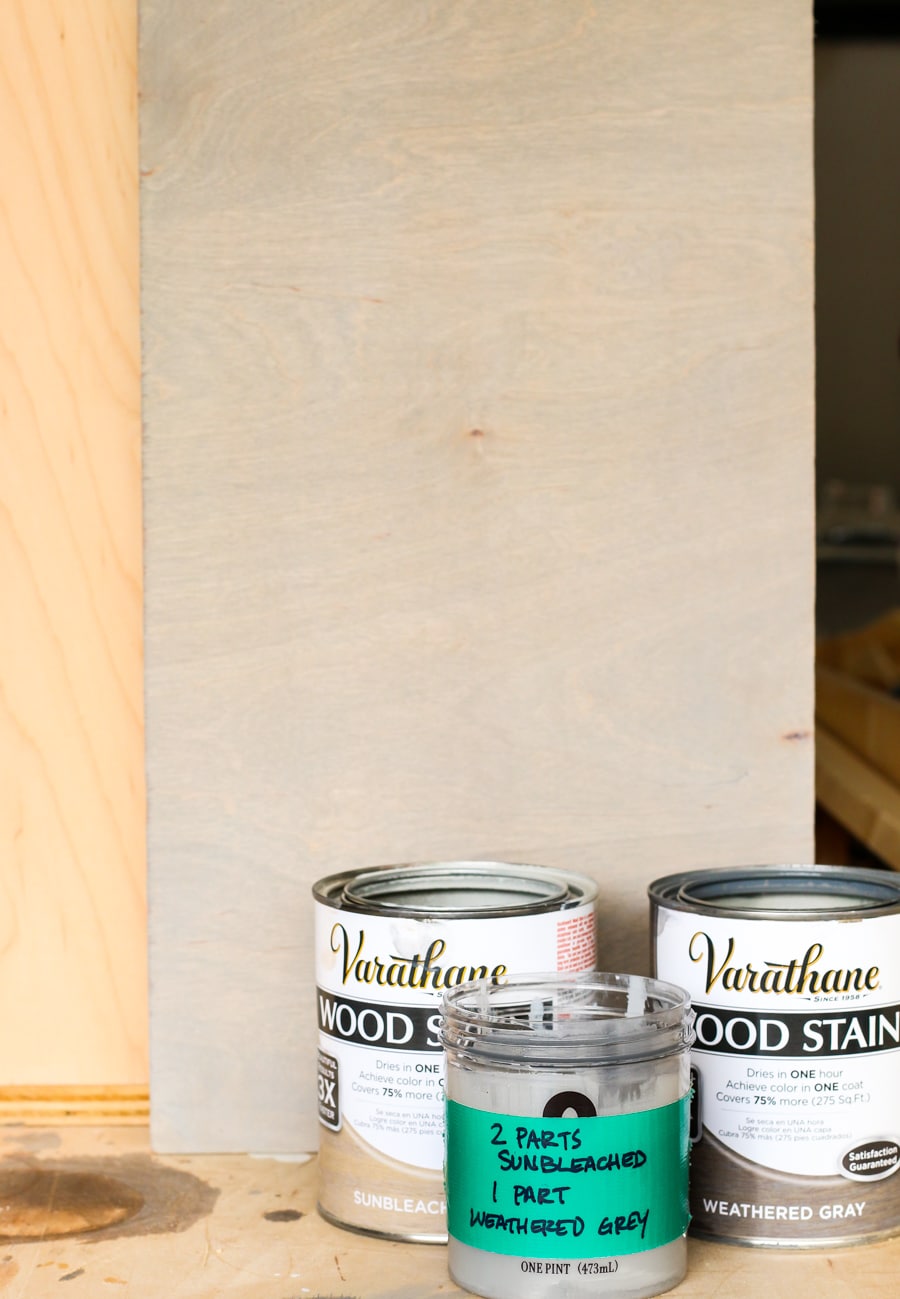
Here’s a comparison to the stained wood to a piece of unfinished wood. I like that the color is a bit deeper than if I’d used Sunbleached alone, yet not quite as dark as if I’d only used Weathered Gray. It’s a nice, happy medium.
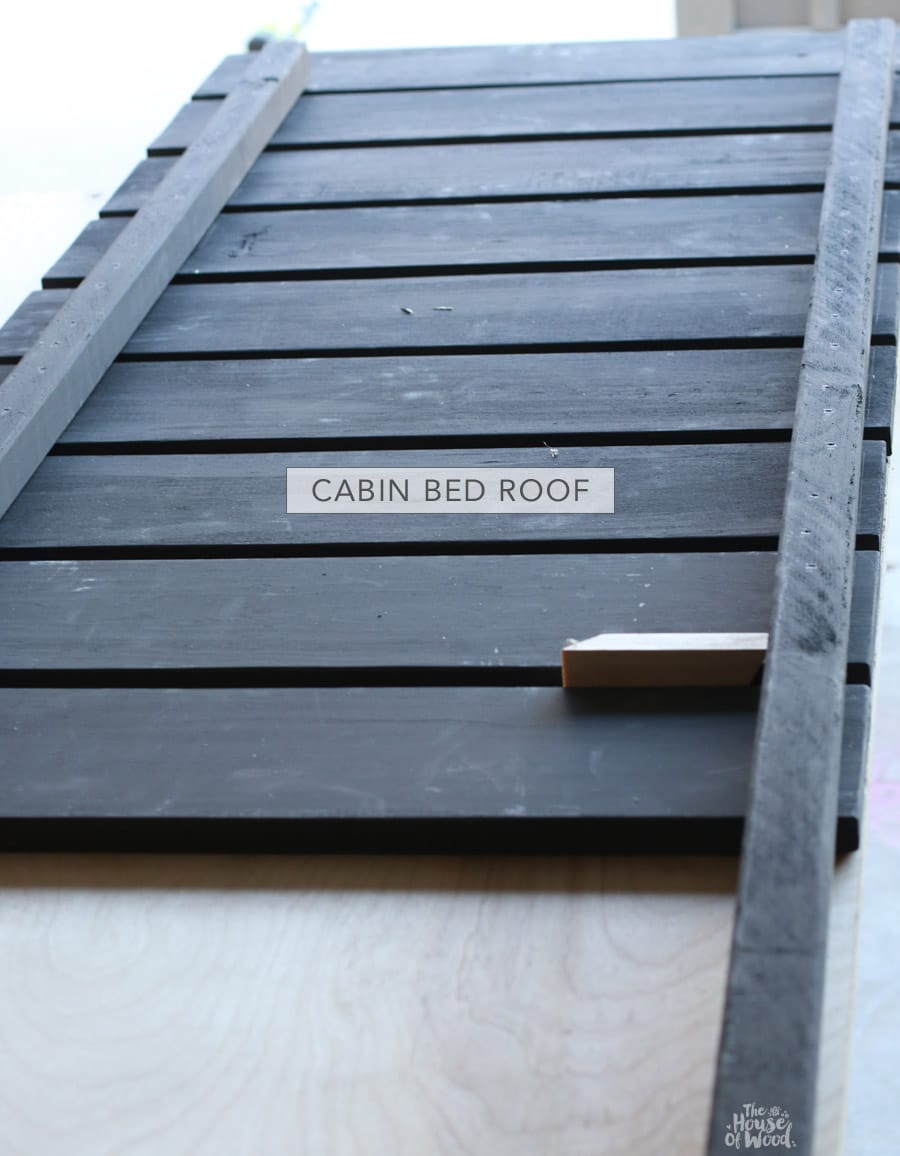
Then I moved onto the roof slats. Using an angled brush, I brushed on Rust-Oleum’s Chalked paint in the color Charcoal. I love their new Chalked paint line! It goes on so easily and the coverage is amazing. Look at all the pretty colors it comes in too!
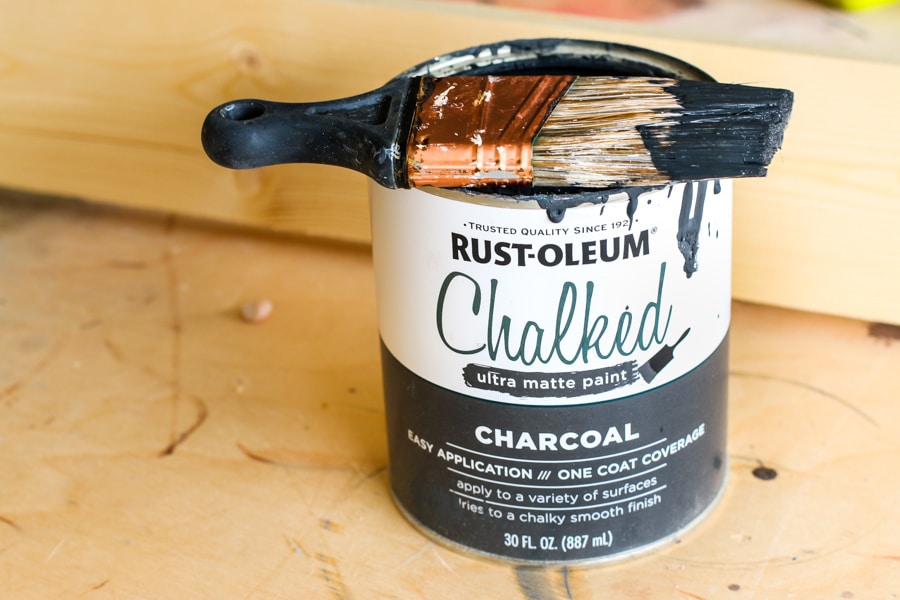 I only needed one coat of this stuff. Love that!
 I painted each of the slats separately before I put the roof together – so much easier than if I’d constructed the roof and then painted. I would have had to shove my brush in between each slat and I don’t have that kind of time. I have two small children. #Enoughsaid
After allowing the whole cabin bed to cure for about a week, I applied 3 coats of Varathane’s Polyurethane with a high quality brush, sanding with 320-grit sandpaper in between each coat. While you typically shouldn’t mix oil- and water-based formulas, as long as you allow the oil-based stain to cure (at least 3-4 days), you can apply a water-based poly over an oil-based stain.
I chose to use the water-based formula because an oil-based polyurethane can yellow over time, whereas a water-based finish stays clear. It also doesn’t stink like an oil-based finish can and since this bed was going into my son’s room, I didn’t want him breathing in all those stinky odors. Clean-up is a breeze too with a water-based poly – just a bit of soap and water and you’re good to go.
 What do you think? Super fun, right?
 If you’re interested, here is a product source list. Click the images below and you’ll be taken directly to the product shown.
SHOP THIS ROOM

- Area Rug
- Navy Basket
- DIY Nightstand
- Lantern
- DIY Custom Wood Name Sign
- Wild & Free Banner
- Moose Flannel Sheets
- Plaid Duvet Cover and Sham
- Moose Throw Pillow
- Round Basket
Thanks for reading friends! I hope you found this tutorial useful. I’ve been checking out your DIY cabin beds on social media and it makes me so giddy seeing all of your versions. Keep sharing and tagging me @jenwoodhouse so I can see your building projects. Have a great rest of the week and get out there and build something this weekend!
*A huge thank you to Rust-Oleum for sponsoring this post. All efforts, opinions, and happy dances are my own.
The post DIY Cabin Bed Finishing Tutorial appeared first on The House of Wood.